

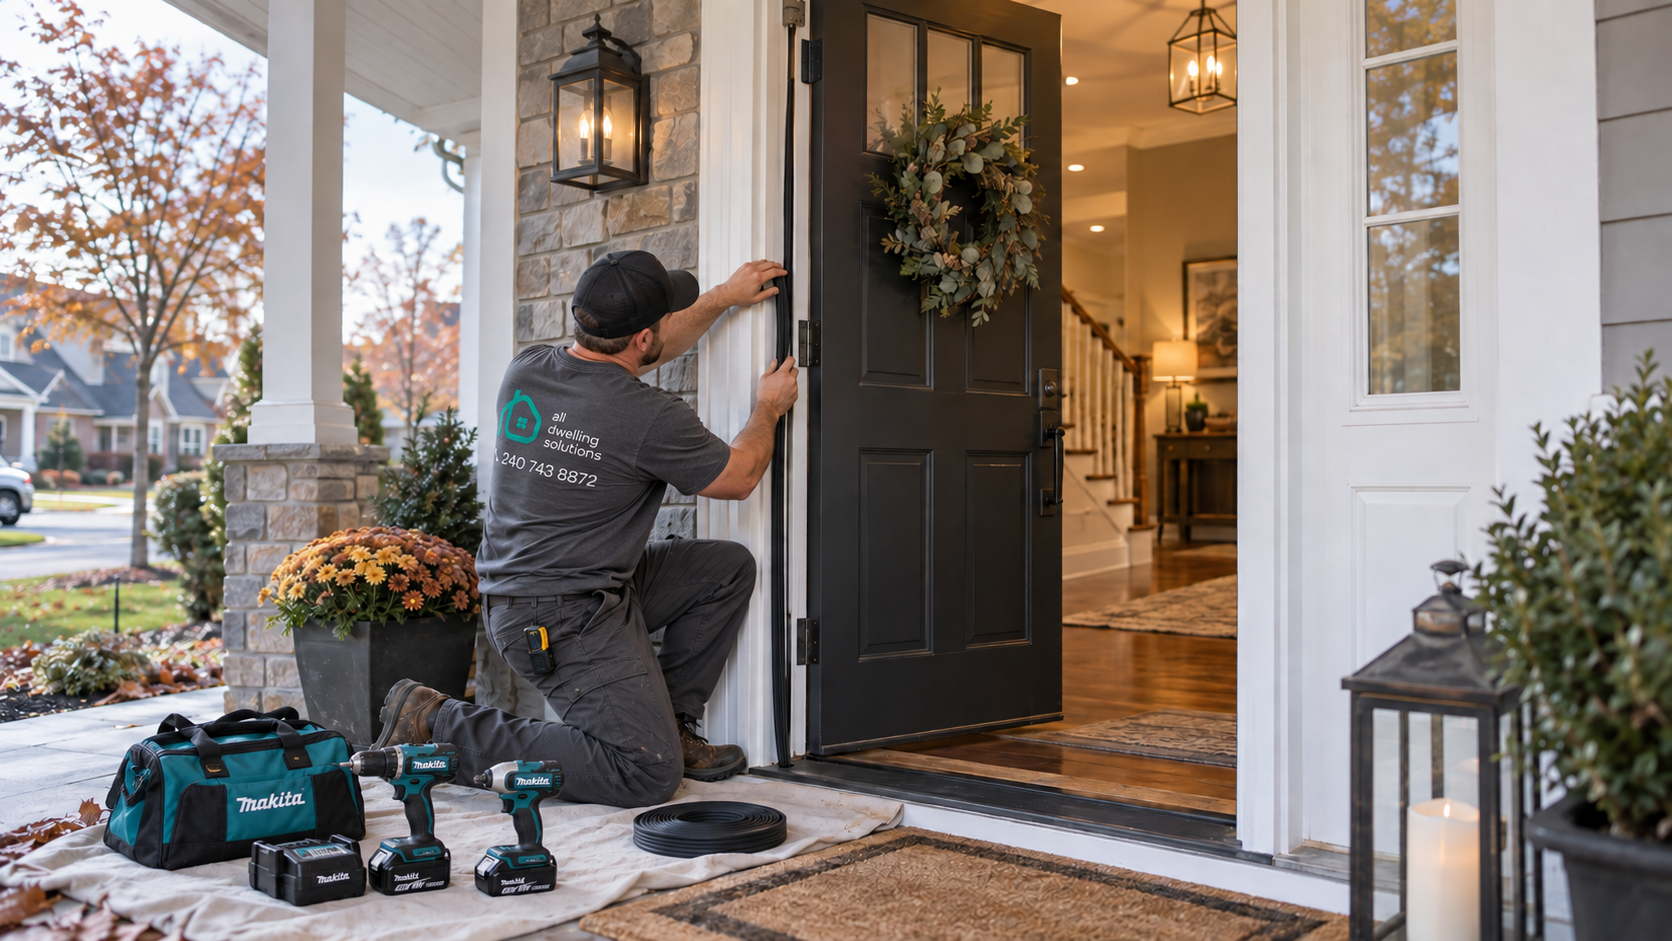
Why Door Weatherstripping Matters
Weatherstripping is the flexible material that seals the small space between an exterior door and its frame when the door is closed. A properly fitted seal helps:
- Reduce uncomfortable cold drafts
- Limit uncontrolled air leakage
- Keep out dust, insects, and wind-driven moisture
- Improve comfort near the entryway
- Reduce unnecessary strain on the heating system
Weatherstripping must make consistent contact with the door without making it difficult to close or latch. If the material is too thin, gaps remain. If it is too thick, the door may not close correctly.
Signs Your Exterior Door Is Not Properly Sealed
Before winter arrives, inspect every exterior door, including front, side, patio, basement, and garage-entry doors. Common warning signs include:
- Cold air coming through the top or sides of the door
- Daylight visible around the door when it is closed
- Cracked, flattened, loose, or missing weatherstripping
- A gap beneath the door
- A door that rubs, sticks, or must be pushed hard to latch
- A loose or damaged threshold
- Water staining, peeling paint, or soft wood near the frame
- Condensation or unusually cold surfaces around the entryway
- A draft that remains after weatherstripping has been replaced
A simple visual inspection often reveals the problem. You can also close the door on a sheet of paper at several points around the frame. If the paper pulls out with almost no resistance, the seal may not be making firm contact in that area.
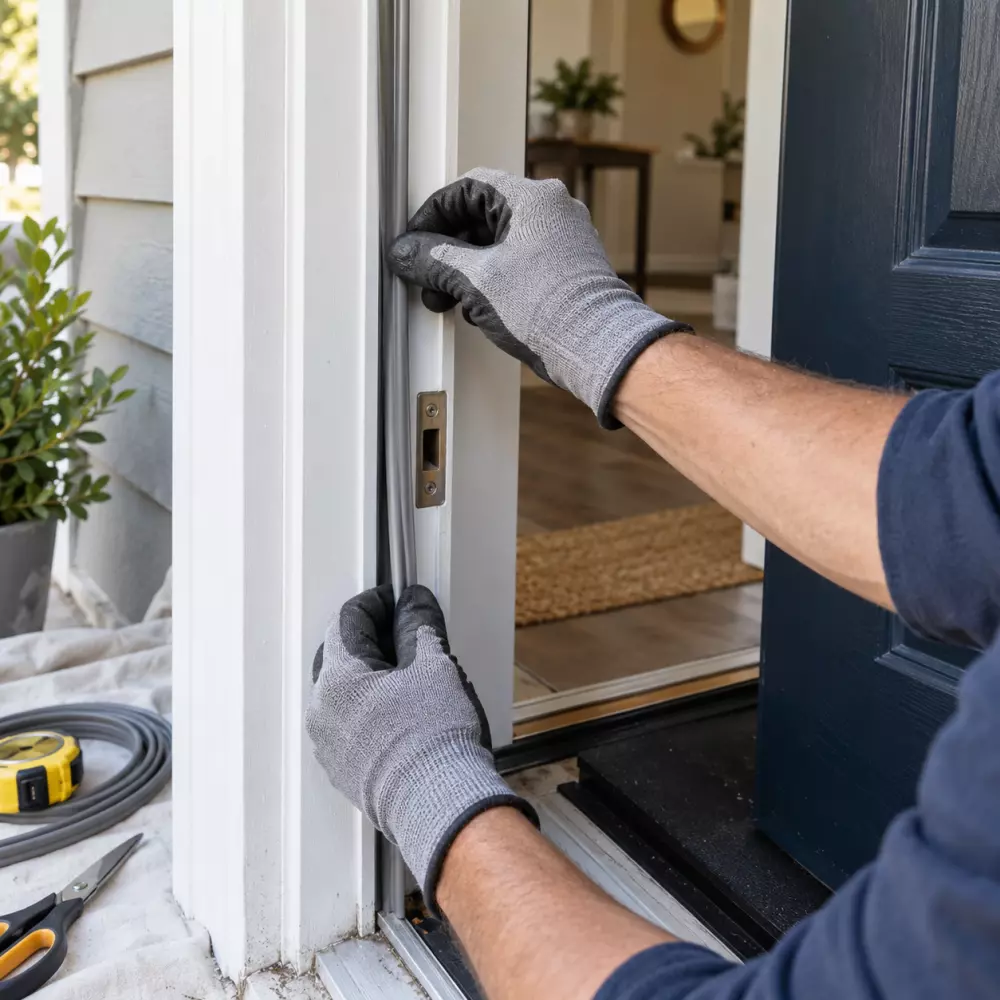
Step 1: Inspect the Door Before Adding Weatherstripping
Weatherstripping should not be used to hide a larger installation or alignment problem. Begin by opening and closing the door several times. Check whether the gap between the door and frame looks consistent along the top and both sides.
Look for loose hinge screws, movement in the frame, damage around the lock, and deterioration near the bottom of the door. If the door is sagging, rubbing, or sitting unevenly, correct the alignment problem before installing a new seal.
If the frame is out of square or the door slab is warped, adding thicker weatherstripping may create more problems without stopping the draft.
Step 2: Remove the Old Weatherstripping
Exterior doors may have adhesive-backed foam, compression seals, vinyl or rubber gaskets, kerf-in weatherstripping, or metal-backed strips. Identify the existing system before buying replacement material.
Carefully remove the old weatherstripping and any remaining adhesive. Clean the contact surface and allow it to dry completely. New adhesive-backed material may fail quickly if it is installed over dust, grease, moisture, or old adhesive.
Whenever possible, use replacement weatherstripping designed for the specific door and frame system. Follow the door manufacturer’s instructions so the new material does not interfere with operation or warranty coverage.
Step 3: Measure and Install the New Seal
Measure each side of the opening separately instead of assuming both sides are identical. Cut the top piece first, then install the side pieces so the corners meet closely without large gaps.
The weatherstripping should lightly compress when the door closes. Avoid stretching flexible material during installation because it may shrink back and leave gaps later. Make sure fasteners or adhesive are secure, but do not crush or distort the seal.
After installation, close and latch the door. Check for even contact around the perimeter and confirm that the lock and deadbolt operate normally.
Step 4: Check the Door Sweep and Threshold
The bottom of the door requires a different type of seal. Depending on the door system, it may use a door sweep, a replaceable bottom gasket, an adjustable threshold, or a combination of these components.
The bottom seal should contact the threshold evenly without dragging excessively. If you can see daylight beneath the door, cold air can usually enter there as well. An adjustable threshold may need a small, even correction, but raising it too far can prevent the door from closing or damage the bottom seal.
If the threshold is loose, corroded, cracked, or allowing water underneath, simply adding a new sweep is unlikely to solve the full problem.
Step 5: Inspect the Exterior Caulk and Trim
Weatherstripping seals the moving space between the door and frame. Exterior-grade sealant addresses appropriate stationary joints around the outside trim and frame. These are separate parts of the door’s weather protection.
Inspect the exterior perimeter for cracked, separated, or missing sealant. Do not caulk over drainage openings, moving parts, or areas the manufacturer says must remain open. Water must be directed away from the opening rather than trapped inside the wall or frame.
When New Weatherstripping Is Not Enough
Weatherstripping is a useful maintenance item, but it cannot correct every source of air or water leakage. A professional inspection may be the better choice when:
- The door or frame is visibly warped
- The opening is out of square
- The door will not latch without force
- There is rot, corrosion, or water damage
- The threshold moves or leaks underneath
- The insulated glass is fogged or damaged
- Drafts continue after the seals are replaced
- The door was installed without proper flashing or perimeter insulation
- The existing door is old, damaged, or inefficient
In these situations, repeatedly adding foam or caulk may only cover the symptoms. The long-term solution may involve adjusting the door, correcting the installation, repairing damaged materials, or replacing the complete door system.
Why Professional Door Installation Matters
A quality exterior door performs as a complete system. The door slab, frame, sill, hinges, hardware, flashing, insulation, sealant, and interior and exterior finishes all need to work together.
At All Dwelling Solutions, we do not cut corners or hide important details in a vague estimate. We explain what door and materials are being proposed, how the opening will be prepared, how the new unit will be installed and sealed, and what the customer should expect during the project.
During installation, we protect the home, use quality materials appropriate for the opening, keep the work area clean, and stay in contact with the customer throughout the project. Our goal is not only to make the door look good—it is to help the complete opening perform correctly through Maryland’s changing seasons.
Prepare Your Door Before Winter Arrives
Early fall is a good time to inspect exterior doors because small problems can be easier to address before colder weather and holiday schedules arrive. If your door only needs new weatherstripping, taking care of it now can improve comfort. If the door has alignment, moisture, frame, or installation problems, an early professional evaluation gives you more time to choose the right solution.
If you are feeling drafts, seeing daylight, or noticing damage around an exterior door, All Dwelling Solutions can inspect the opening and explain whether adjustment, repair, or replacement makes the most sense for your Maryland home.
Contact All Dwelling Solutions to schedule an exterior door consultation before winter.